Before we get started, if you prefer to use the GParted tool for any reason, feel free to do so, though it's not altogether necessary. Be sure to have your Vista DVD on-hand to repair potential boot loader
complications.
Before proceeding realize that by removing your Windows 7 installation and partition you will be deleting any documents, pictures, videos etc. which you've accumulated on the Windows 7 partition if you haven't backed them up previously, so consider doing that before continuing.
Once you are ready, boot up Vista, click the Start menu and enter “diskmgmt.msc” into the search bar. A window titled “Disk Management” should open displaying basic information about the drives attached to your PC.
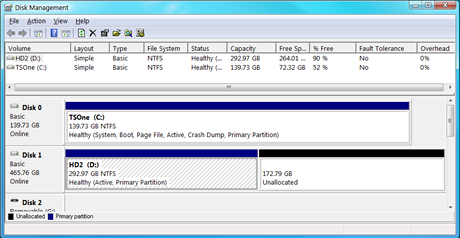
Right click the partition you previously created for Windows 7 (it's probably the second partition on “Disk 0” if you followed our previous guide) and opt to “Delete Volume...”.
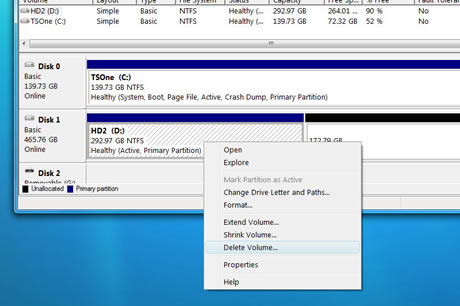
You should now see unallocated space on your hard drive where Windows 7 once laid.
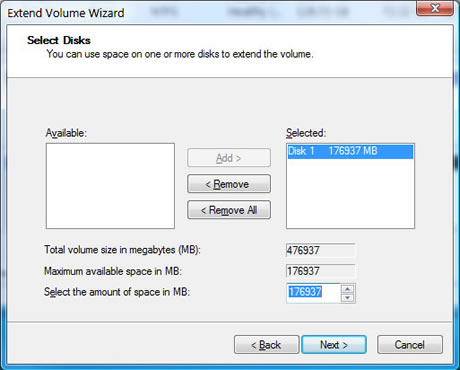
Right click your original (and probably only remaining) partition, choose “Extend Volume...” and enter the full capacity of the unallocated space.
Break out your Vista DVD, boot off it and after the initial loading/configuration process you should be met with a screen with three potential options: “Install now”, “What to know before installing Windows” and “Repair your computer”, we want the third option, “Repair your computer”.
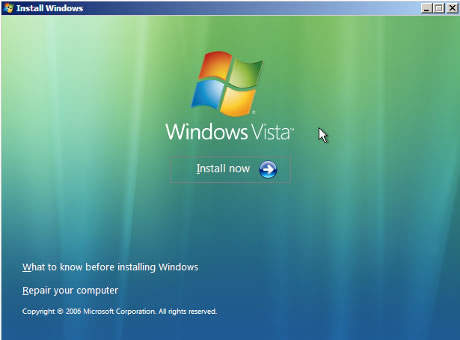
Select your Vista installation when asked what you'd like to repair.
You'll then be asked to choose a recovery tool. We'll be going with the first one there, “Startup Repair”.
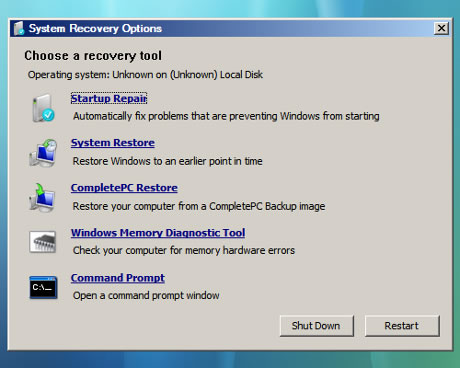
The recovery tool should now begin scanning for potential issues. Your system might reboot during this process. If you're prompted at some point for a System Restore, click Cancel.
Eventually the utility should proclaim the issues to have been resolved at which point you can boot normally and remove your Vista DVD from the drive.


No comments:
Post a Comment